What is "Design and Modeling"?
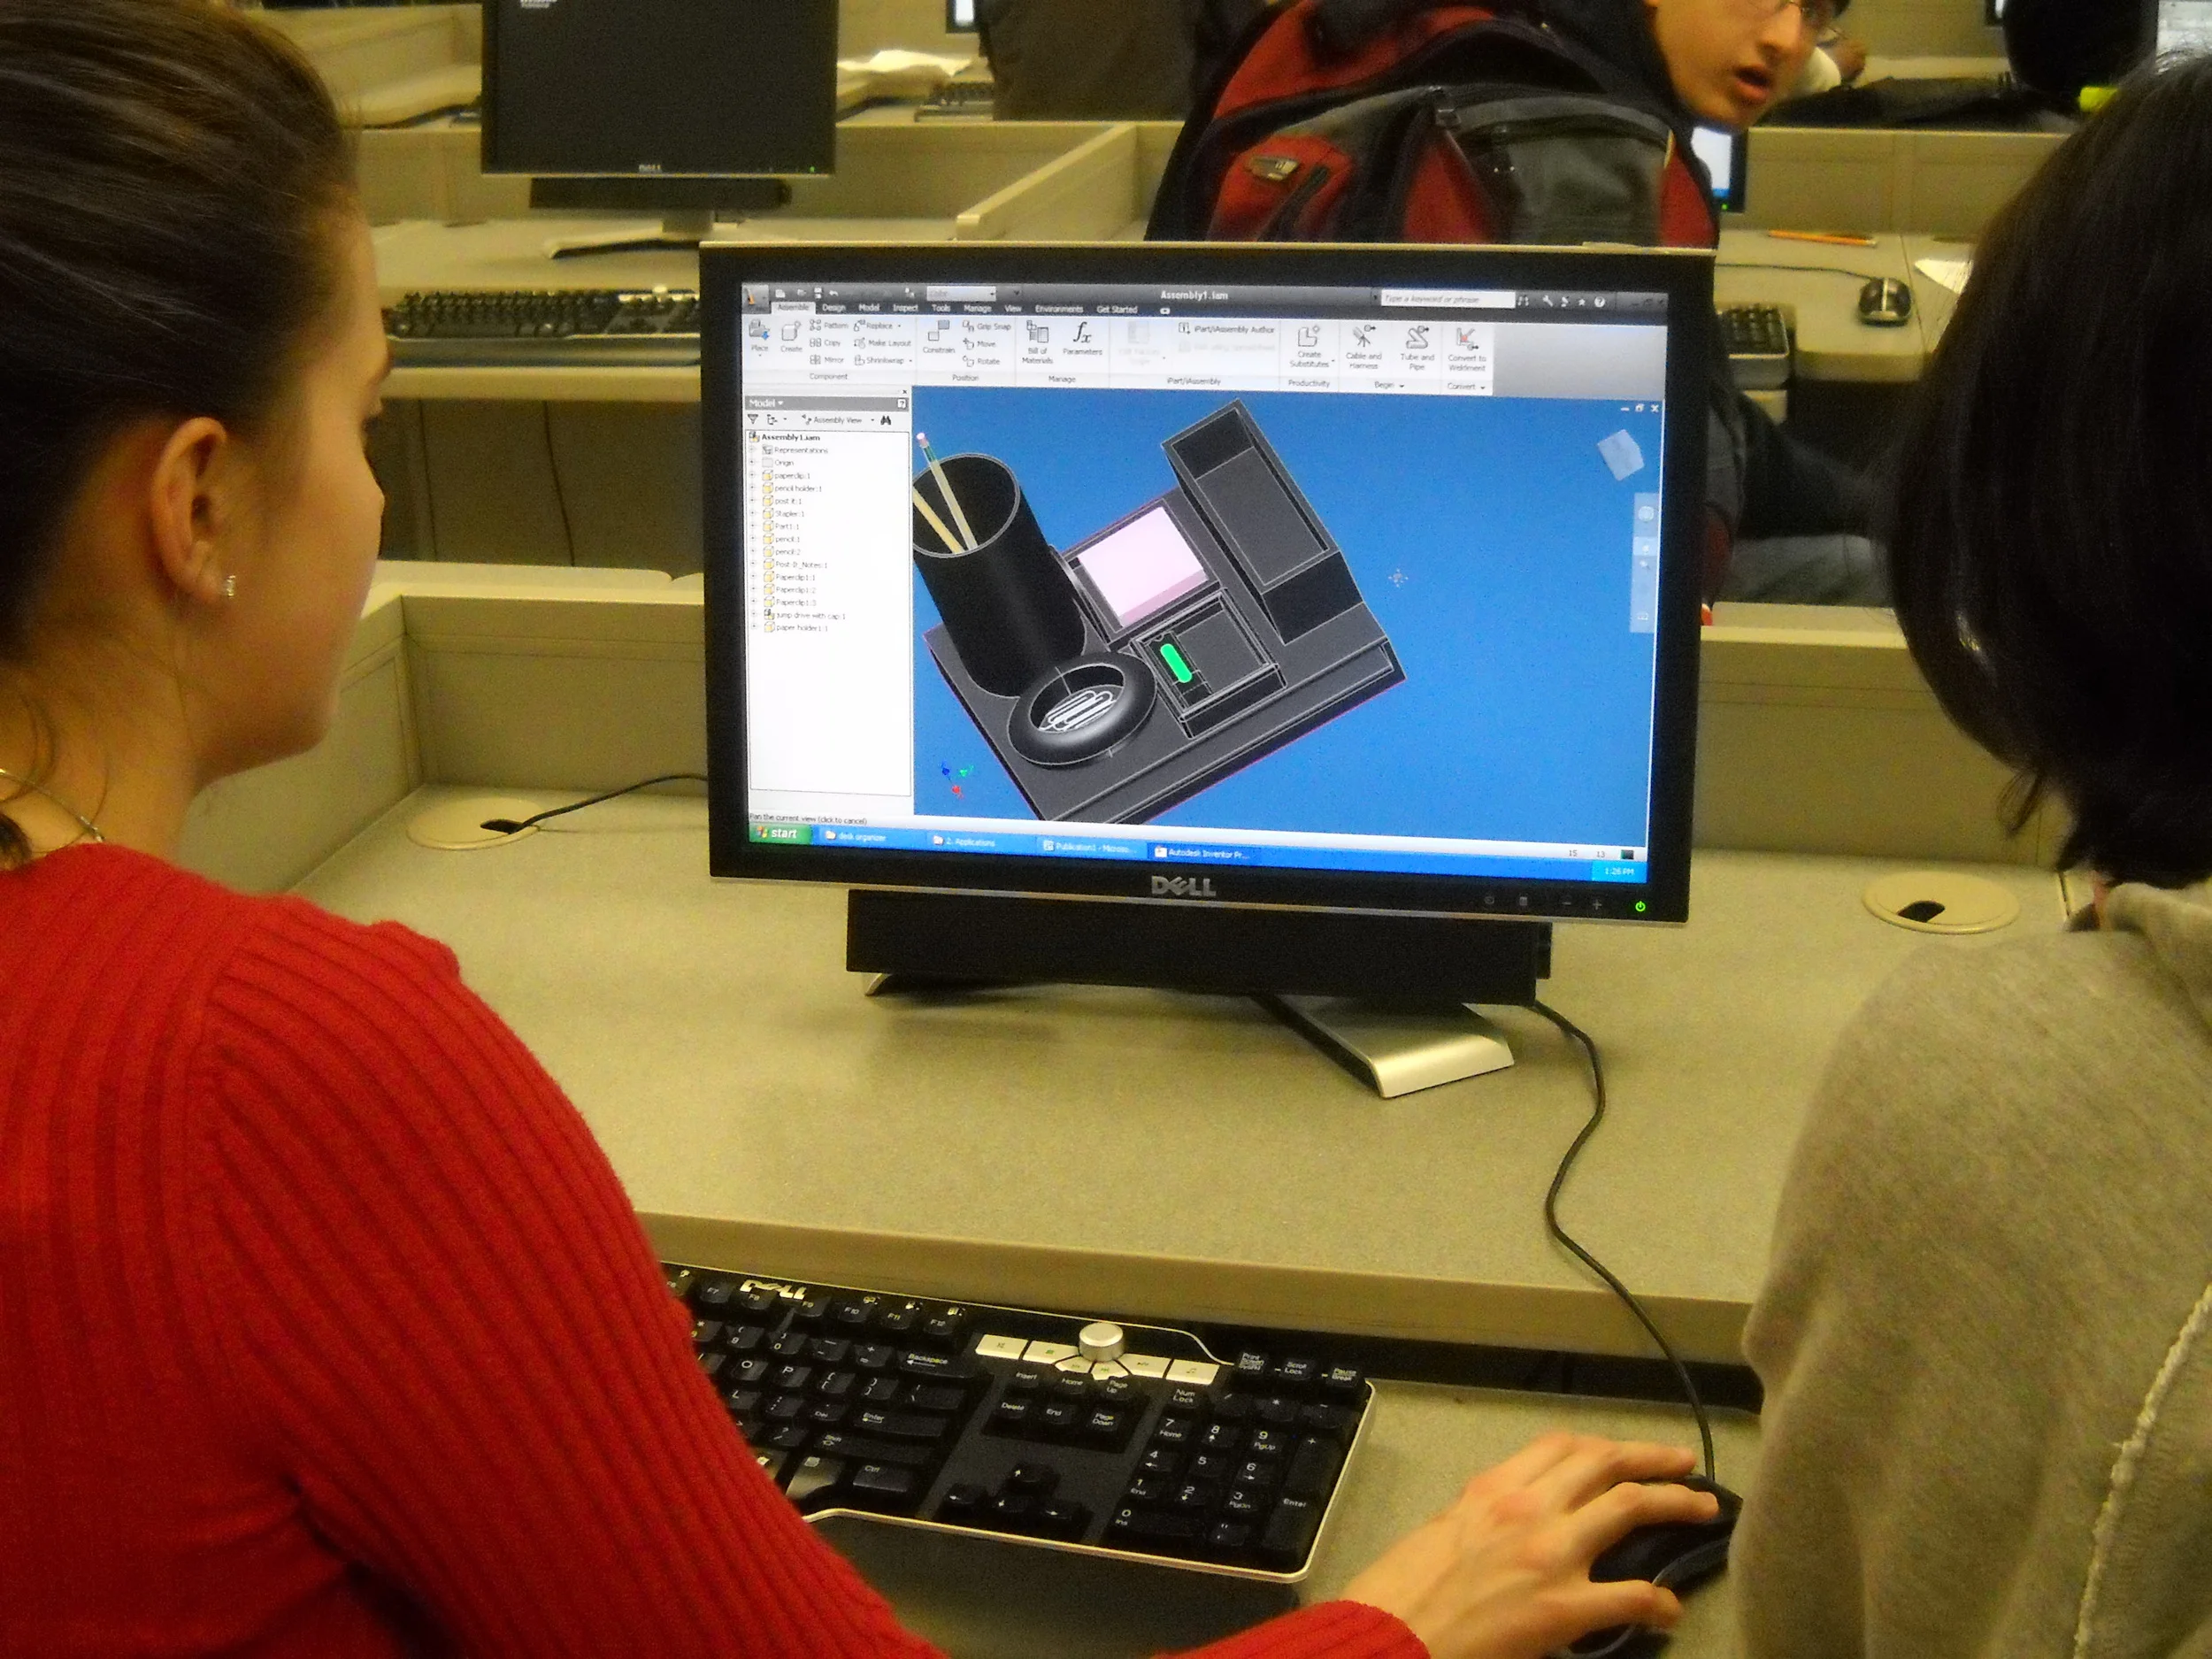
Students apply the design process to solve problems and understand the influence of creativity and innovation in their lives. They work in teams to design a playground and furniture, capturing research and ideas in their engineering notebooks. Using Autodesk® design software, students create a virtual image of their designs and produce a portfolio to showcase their innovative solutions.
Course Outline
Unit 1
1.1 WHAT IS ENGINEERING
In this lesson students will learn about STEM careers and how they impact the past, present, and future
1.2 DESIGN PROCESS
This lesson focuses on the tools that engineers use to solve problems. Students will study the Design Process and will use it to guide their actions. In this lesson students will be introduced to the idea that there are many design processes and no single design process is better or more useful than another. They will learn that the selected design process will be built upon in the high school Pathway to Engineering courses. Students will encounter each step in more detail as they gain knowledge and experience throughout the course.
Unit 2
1.3 MEASURMENT
The need for very accurate measurements during the design process goes back at least to the time of the great pyramids. Clearly, the ancient Egyptians used the basics of surveying to build the pyramids. The concepts of measuring angles and lengths must have been well developed at that time.
In order to measure something, an essential feature is the use of a common measurement system. In the U.S., both the Metric (SI) system and the Standard (Customary) system are used. The rest of the world, including England, uses the metric system. During this course, students will experience opportunities to use measurement when making a sketch or drawing or a prototype and when using computer modeling systems. Students will also learn that to switch between the two measurement systems.
1.4 SKETCHING AND DIMENSIONING
Cave paintings discovered in France indicate that human beings have been using pictures to communicate ideas for tens of thousands of years. The expression “one picture is worth a thousand words” is used in many places. In engineering and architecture, a picture is used to express a design idea, concept, or potential solution for a problem. Sometimes the picture is a simple sketch; other times it is a complex drawing.
Brainstorming sessions are used to generate a multitude of ideas to solve a problem. After the ideas are narrowed down to a few, a sketch pad is generally used to more clearly express the idea in order for all participants to have a visual understanding of the potential solution.
In this lesson students will learn how to sketch using several different techniques, such as thumbnail and isometric sketching, methods widely used to communicate ideas. In addition they will learn the basics of dimensioning and annotating drawings. Students will practice creating one- and two-point perspective and orthographic views, sometimes referred to as multiple views, of an object.
1.5 DESIGNING FOR PRODUCTION
In this lesson students will learn how to transfer a simple hand sketch to a three-dimensional (3D) model on a computer. Creating the image on a computer has many advantages. For example, one of the problems with hand sketching is that as you change the sketch, you must keep erasing. Erasing or deleting aspects of a drawing on a computer is often done with the click of a mouse button.
Another major advantage of using a computer solid modeling program is that it allows a crude initial sketch to be transferred into a polished drawing with a few simple commands. Many crude sketches can be turned into 3D models that can be converted to a working drawing with dimensions and annotations.
In order to get maximum benefit from this powerful tool, students will study the basic geometric shapes, such as cubes and spheres, and how they are combined to form complex geometry using the aid of the computer. The basic techniques that students will learn may be equally applied to making a model of a human body for medical purposes, creating a soft drink container, or manufacturing a starter motor for an automobile.
Students will build on drafting basics by adding many essential features to their 3D models. They will learn to document, edit, and archive drawings as well as study techniques for adding features such as holes, slots, and chamfers.
Finally, students will see that once they have created a 3D model of an object, the computer can show them the model from a virtually limitless number of viewpoints, greatly enhancing their visualization of the object. This function is also a wonderful tool for multimedia presentations.
Students will have the opportunity to complete the design process by building a prototype, testing and evaluating the models, redesigning to improve their solution to a problem, and communicating their ideas to representatives from the community.
